
It is possible to transform a space with tile installation, whether you are working on a patio, a bathroom, or a kitchen. You have a wide range of options to choose from, including sleek and contemporary porcelain tiles and timeless and elegant tiles. For professional results, tile installations require precision, planning, and expertise. In this guide, we will explore the important steps and considerations that go into tile installation. It will help you navigate with confidence.
1. Planning and Preparation
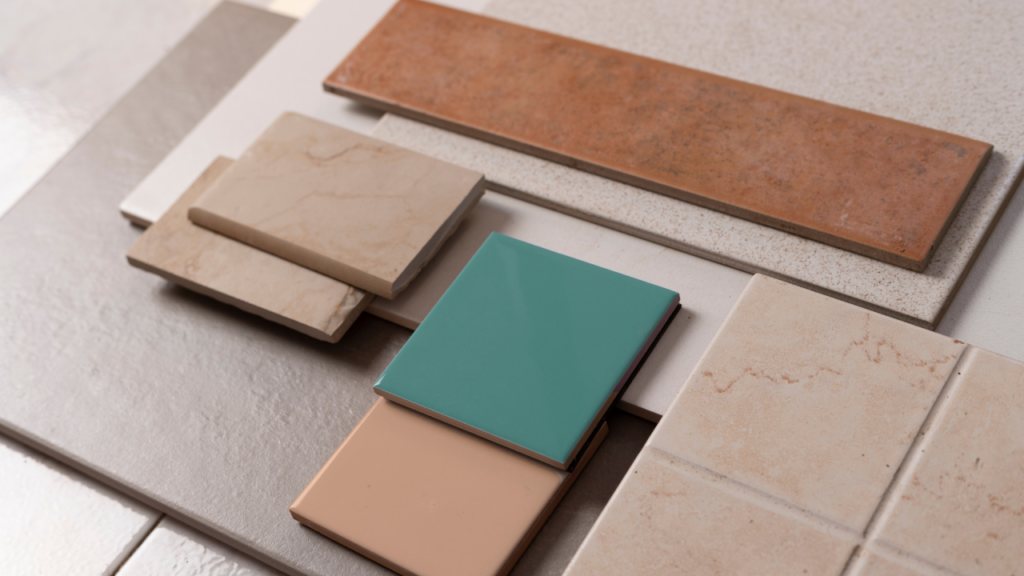
Plan and prepare the room thoroughly before beginning any tile installation. Begin by choosing the right size, shape, and color tiles for your design and functional requirements. When selecting tiles for different areas of your house, consider durability, water resistance, and maintenance needs.
Once you have chosen your tiles, you will need the appropriate number. You should always purchase extra tiles in case of cuts, breaks, and future repairs.
Before the tiles can be installed, the substrate must be clean, smooth, and devoid of imperfections. In wet areas like bathrooms and kitchens, you should repair any cracks and apply a membrane to waterproof the area.
2. Layout and Design
Then, you should plan your tile layout to achieve visually pleasing symmetry. Start by locating the central point of the space and using chalk lines or tile spacing to create the grid pattern.
When laying them out, consider factors such as tile orientation, directionality, and pattern. Test different layouts and styles to find one that complements the room’s aesthetics.
Before you begin installing the tiles, test the fit by dry-laying the tiles.
3. Tile Installation:
The tile installation can now begin. Mix thin-set or adhesive according to the manufacturer’s instructions.
Spread thin-set masonry evenly with a notched trowel. Maintain consistency in thickness and coverage. Work in small areas to prevent the mortar from drying up before installing the tiles.
Placing each tile on the mortar with care and pressing down hard to ensure adhesion is important. To keep the grout joints and tile alignment constant, use spacers between the tiles.
Continue to lay the tiles outwards, starting at the center of the space and checking them periodically to make sure that they’re level.
4. Cutting and Trimming
When you reach the outer edges of a room or come into contact with obstacles, like doors or fixtures, you may need to trim or cut the tiles. You can use a tile cutter or wet saw to make accurate cuts. Just be sure to mark the tiles and measure them accurately before you cut.
To shape tiles into irregular shapes and curves, you can use a tile grinder or nipper. Slowly and deliberately cut the tiles to ensure clean and accurate results.
Choosing the Best Hot Water Systems in Australia in 2023(Opens in a new browser tab)
5. Grouting, Finishing and Finishing
When all the tiles have been installed, and the mortar has dried according to the manufacturer’s instructions, it’s time to grout.
The grout should be mixed to the desired consistency. Then, using floating grout, apply the grout to the joints. Make sure to press the grout firmly between the tiles. The grout sponge can be used to remove excess grout on the tiles and smooth the joints.
If you follow these steps and guidelines for tile installation, you will be able to transform any area into a beautiful and functional space. You can enhance your home’s beauty and value by installing tile, whether it is to update a kitchen backsplash or renovate a bathroom.